
Styling from Start to Finish | A Sneak Peek into Our Process
1. When getting ready to style a space, knowing what you’re working with is *SO* key, and receiving photos or measurements from someone else just won’t cut it. Visit the property (yes, IRL) to take photos of every possible angle of each room and take your own measurements as necessary. This will give you real hands-on insight to the layout, vibe, the light, absolutely everything you need to know about the space you’re about to transform.

2. Create a mood board to get a visual idea of how everything will work together. This part is *super* fun. Some designers use creative programs like Adobe InDesign or Illustrator, others use trusty Pinterest, but my secret program is Powerpoint (or Keynote for Macs). Do what makes the most sense for you, your workflow, and your creative skills!
The first step as you create your moodboard is to begin with furniture for each room that will showcase the space while keeping in mind size and scale.
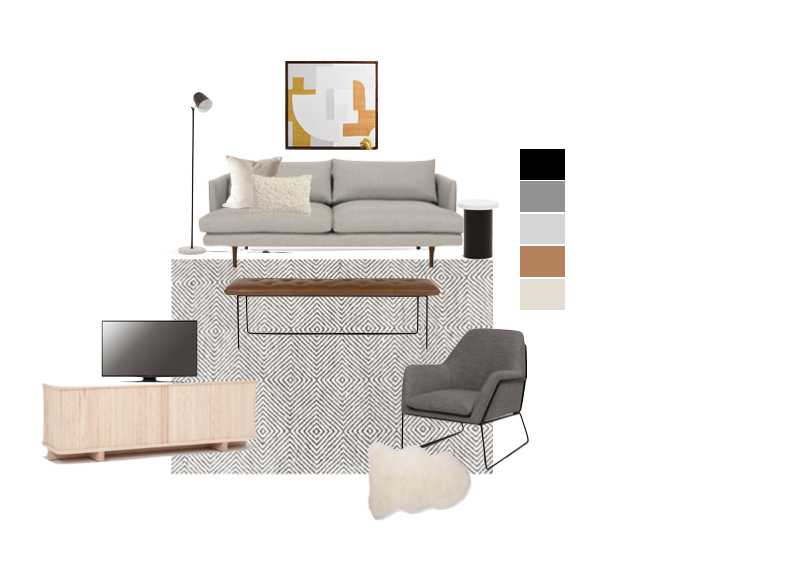
3. While still working on your moodboard, it’s time to choose the larger accessories such as rugs, lighting and artwork making sure all the elements work well together. You want a similar vibe to flow through the whole property.
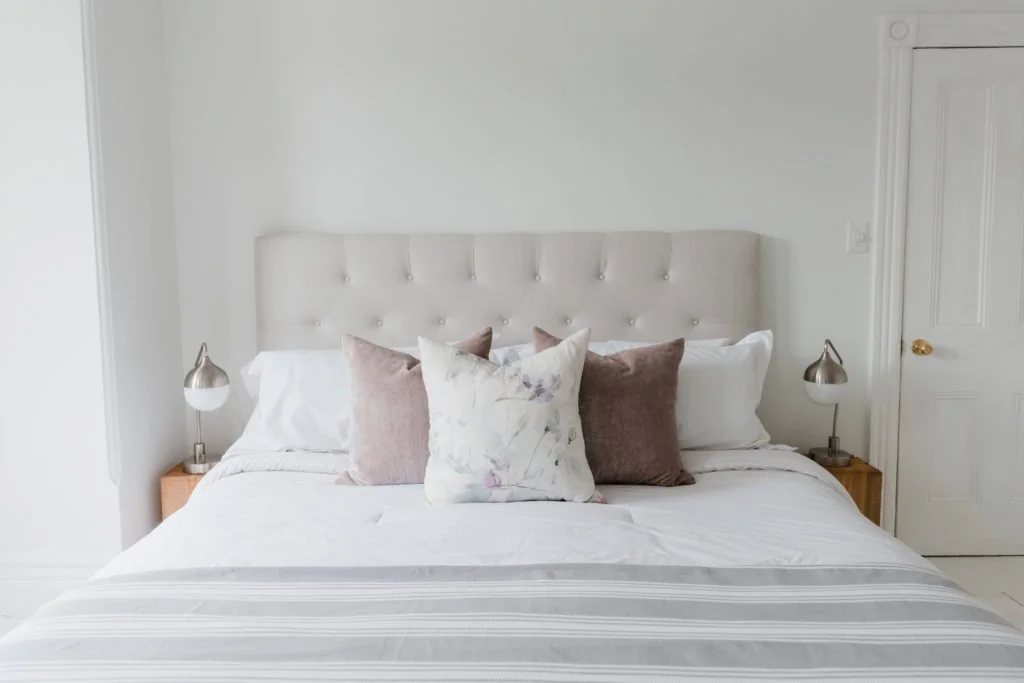
4. On staging day, we pull together all the smaller accessories like pillows, throws, knick knacks, vases etc, to complete the aesthetic + bring that homey-feel to the space. This final step of layering is where the magic happens!

5. It’s install time! Pack everything up, deliver it to the property, and watch your design come to life!

Ever wondered what your personal taste says about your ideal decor style? Take our free quiz!